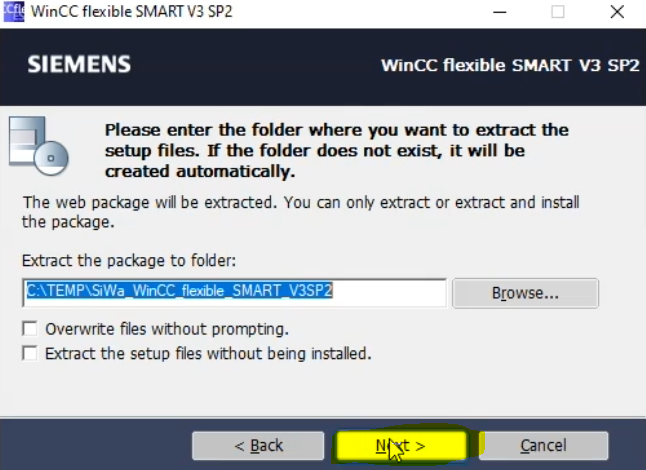
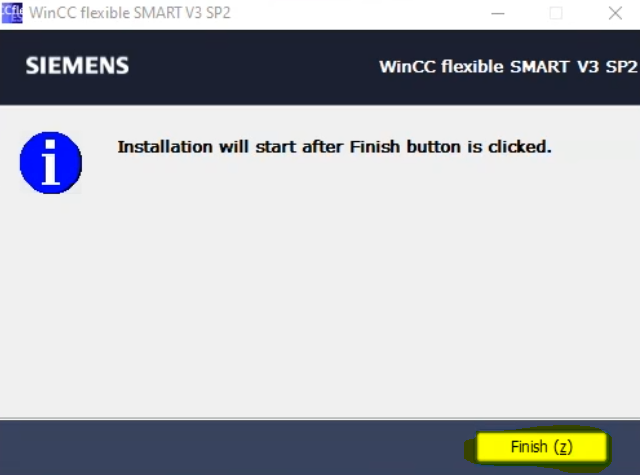
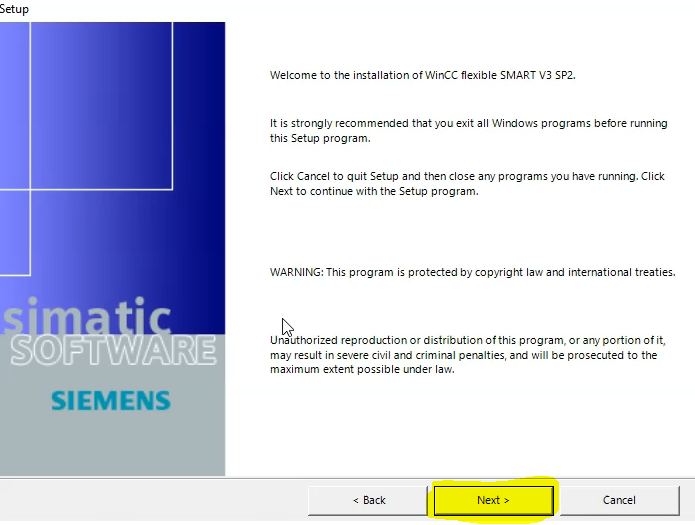
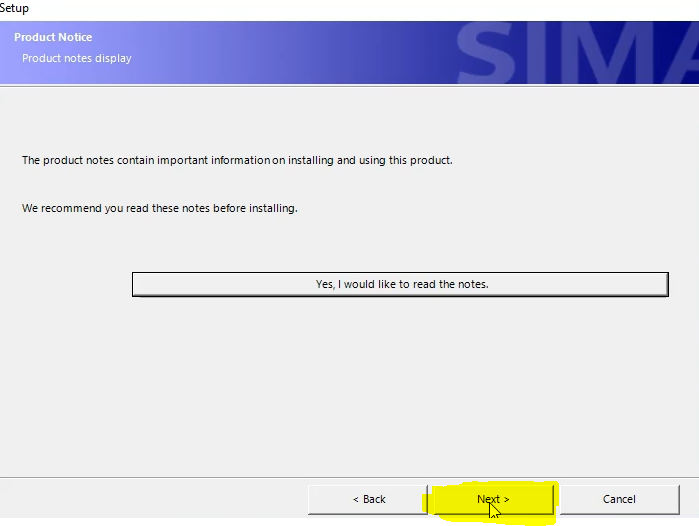
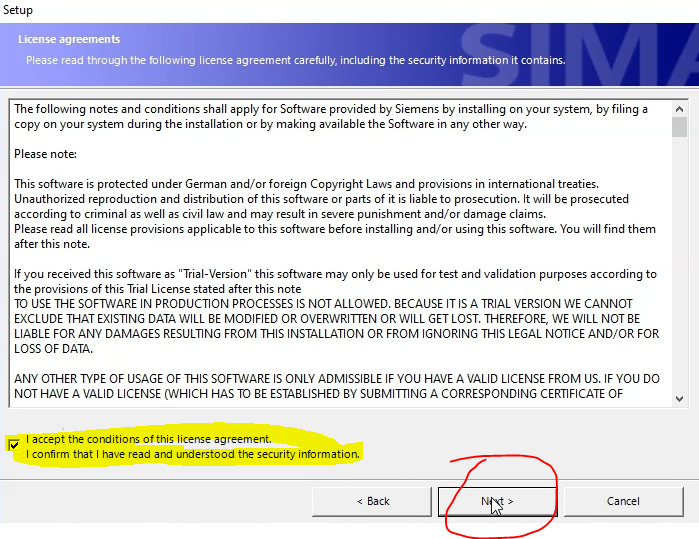
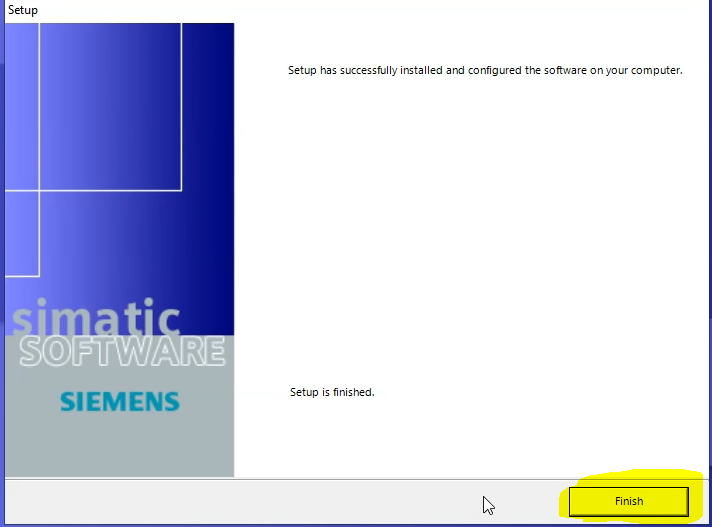
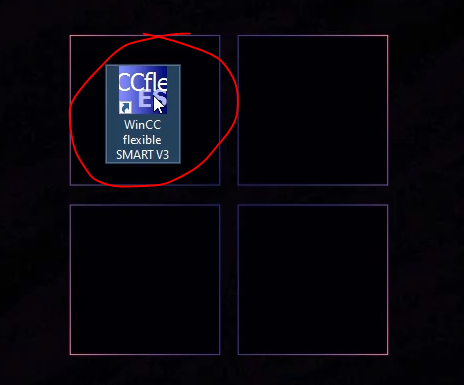
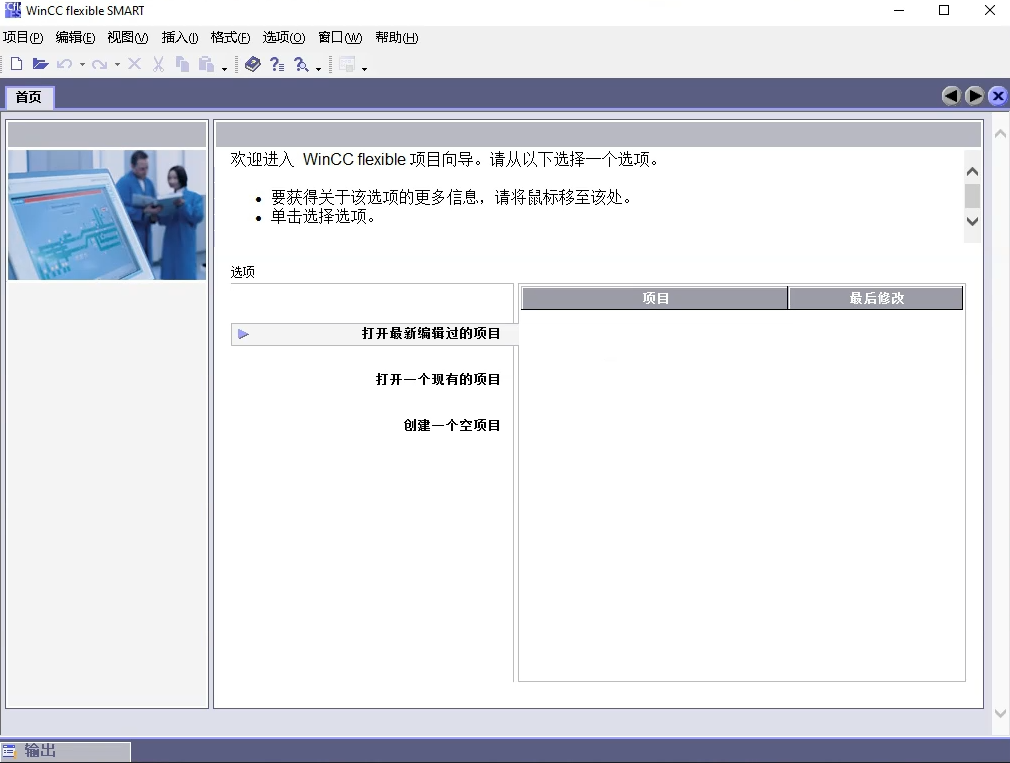
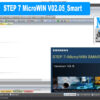
Download and Install Siemens HMI Software WinCC flexible SMART V3


Related posts
System Requirements Operating system: Windows 7 / 8 / 10 CPU: Pentium 1.5 G or above Memory: ... Continue reading
Mitsubishi HMI SOFT GT Designer3 GTD3_GOT2000 (update version) Click here MITSUBISHI_HMI_SOFT_E-Designer7.52 Click here GT Designer 3 reference manual System Requirements... Continue reading

Download the EB Pro from Click here https://youtu.be/BPB3JWqDs0Q system requirement Operating System, Windows 7 SP1 (32bit / 64bit) Windows 8... Continue reading
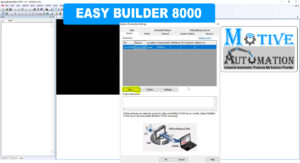
Download the EB8000 from Click here System Requirements CPU : INTEL Pentium II or higherMemory ... Continue reading

System Requirements Operating System: Windows XP (SP2 or SP3), Windows Vista (SP1 or SP2) Windows 7, Windows 8 Storage: 500... Continue reading


Leave a reply